Support Home » VirtualHostX » Getting Started
VirtualHostX Getting Started Guide
Last Updated December 10, 2019
VirtualHostX is an easy-to-use local web server environment that you can install on your Mac. With just a few clicks, you can run multiple copies of WordPress, Drupal, or any other PHP or JavaScript based app.
Installation and Setup
Getting started is easy. You can download the latest version from here. Unzip the app and move it into your Mac's /Applications folder.
The first time you launch VirtualHostX, you'll be greeted with the Welcome Screen as shown here:
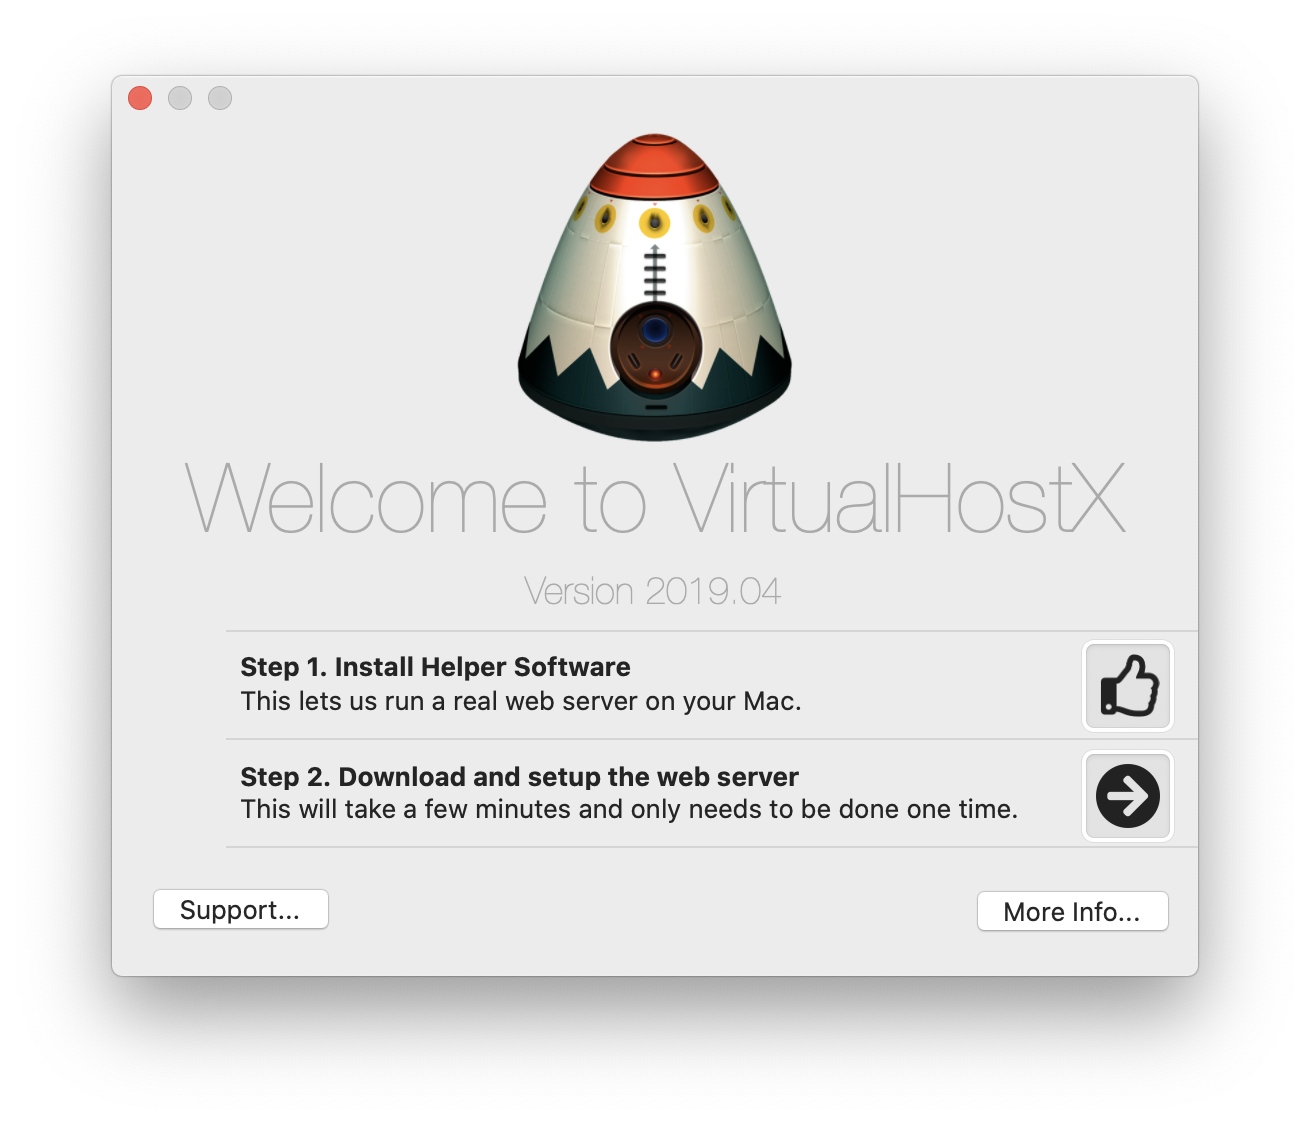
Follow the two steps to install the software.
Clicking the "arrow" button next to "Step 1" will download and begin the installation process of the helper software VirtualHostX uses to run a web server on your Mac. Two free pieces of software will be installed for you:
1. VirtualBox is a free, open-source application that allows you to run "virtual machines" inside your Mac. A virtual machine is totally separate computer running inside your real computer.
2. Vagrant is another open-source piece of software that allows us to easily control VirtualBox and tell it what to do.
Note: During the installation process, you will be asked to grant your permission to install a System Extenion, also known as a kernel extension or "kext". This allows the app to hook into the lowest levels of macOS and do the magic necessary to run virtual machines on your system.
Because kernel extensions have such deep access into your Mac's system, you have to make sure you're only installing them from trustworthy developers. To help with this, in recent verisons of macOS (beginning with High Sierra), Apple requires you to explicitly approve new kexts before they can run.
To give your permission, you need to click the "Allow" button in the System Preferences window that appears during the installation.
After the software finishes installing, return to the Welcome Screen and click the next arrow button to begin Step 2. This will begin downloading and creating your virtual machine. This step may take a few minutes and only needs to be done once.
During this step, VirtualHostX will automatically download and install a real Ubuntu Linux operating system inside your Mac in its own virtual machine. Ubuntu is the same type of operating system used on millions of web servers around the world. It's an ideal choice to run on your Mac because you can be certain that that websites you test locally with it on your Mac will work and behave the same way when you upload them to your real web server for the world to see.
After you've completed the two steps on the Welcome Screen, the main VirtualHostX window will appear as shown below:
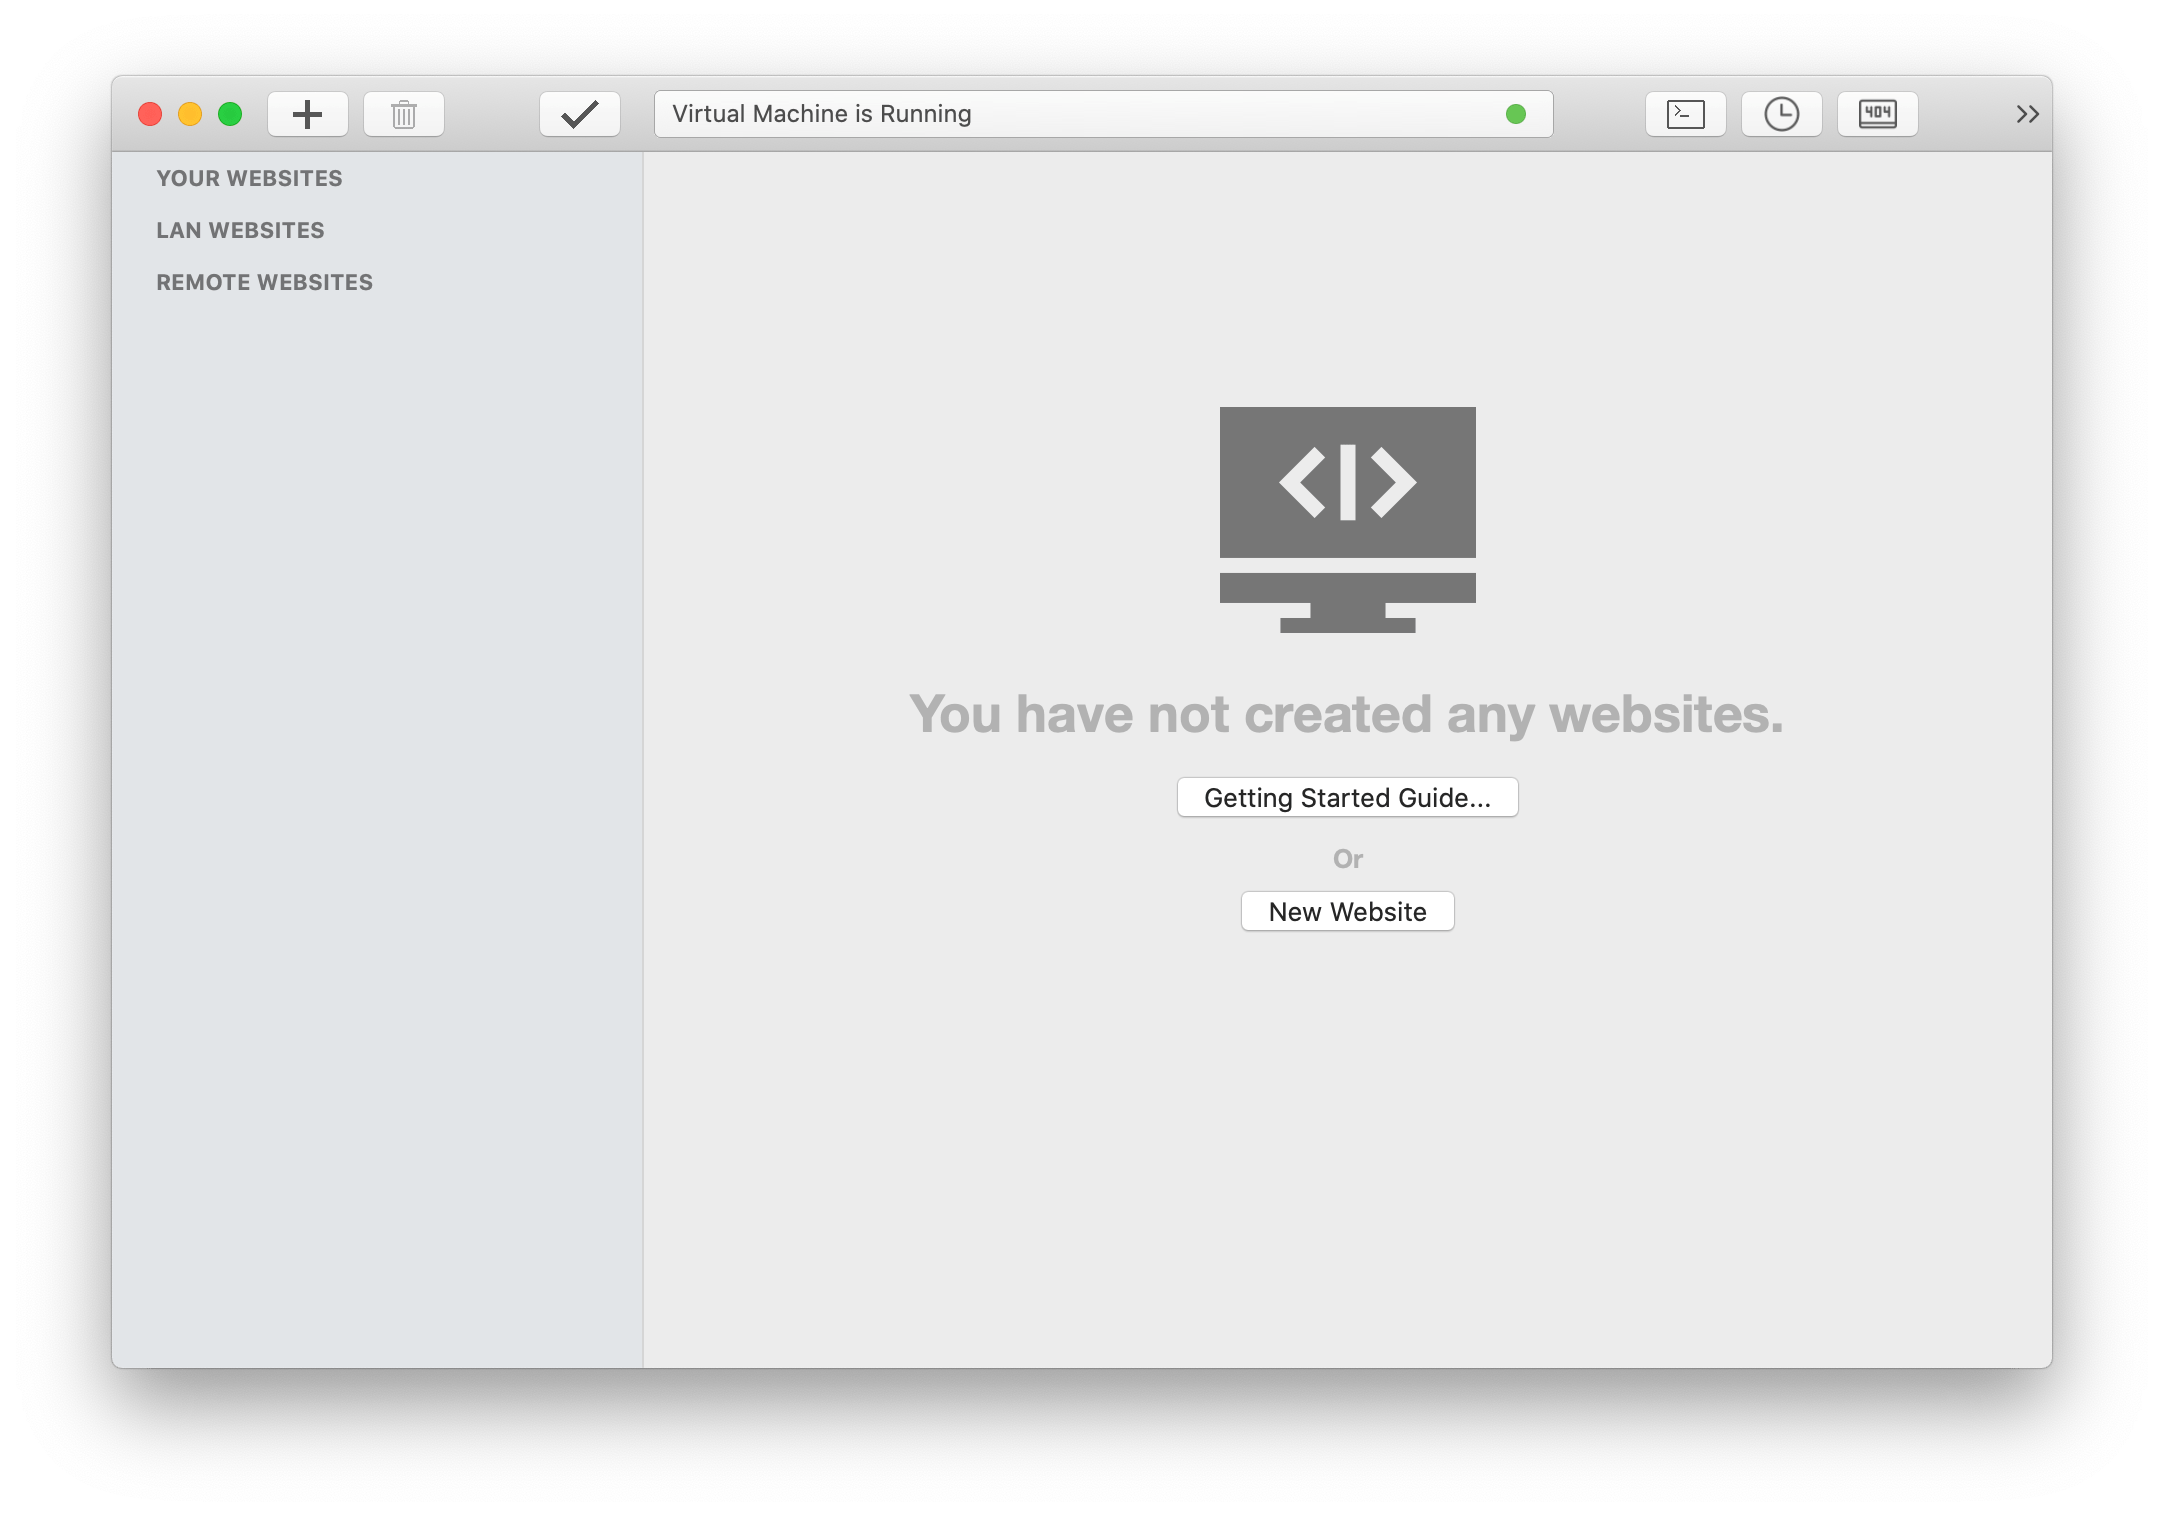
Yay! You are now ready to create your first website.
If you would like to see all of the above steps as they actually happen, take a look at this video. It's 2 minutes long and shows the entire process from beginning to end.
Creating your first website
Like many typical Mac apps, the VirtualHostX Main Window has two primary areas. On the left side is the sidebar, which contains a list of the websites you create. Clicking on a website will select it and display its details on the right side of the window.
Let's create your first website.
- Click the "plus" button in the toolbar.
- Fill in a name in the "Website Name" textfield. This should just be a simple word or name to identify your new website. It will become part of the URL you use to view your website in a later step. An example name you could choose might be
wordpressorclient1ordrupal. You can choose whatever makes sense to you. - Next, click the "Choose..." button next to the "Local Path" textfield. This will allow you to choose a folder on your Mac. Pick the folder where you want your website's files to be located. This can be an existing folder, or you can create a new one.
- Click the "checkmark" toolbar button. This will save your new website's settings to the web server and restart the virtual machine. After it finishes restarting, you will be able to visit your new website using the web address displayed in the "Local URL" textfield.
Here is a screenshot of VirtualHostX with an example website setup:
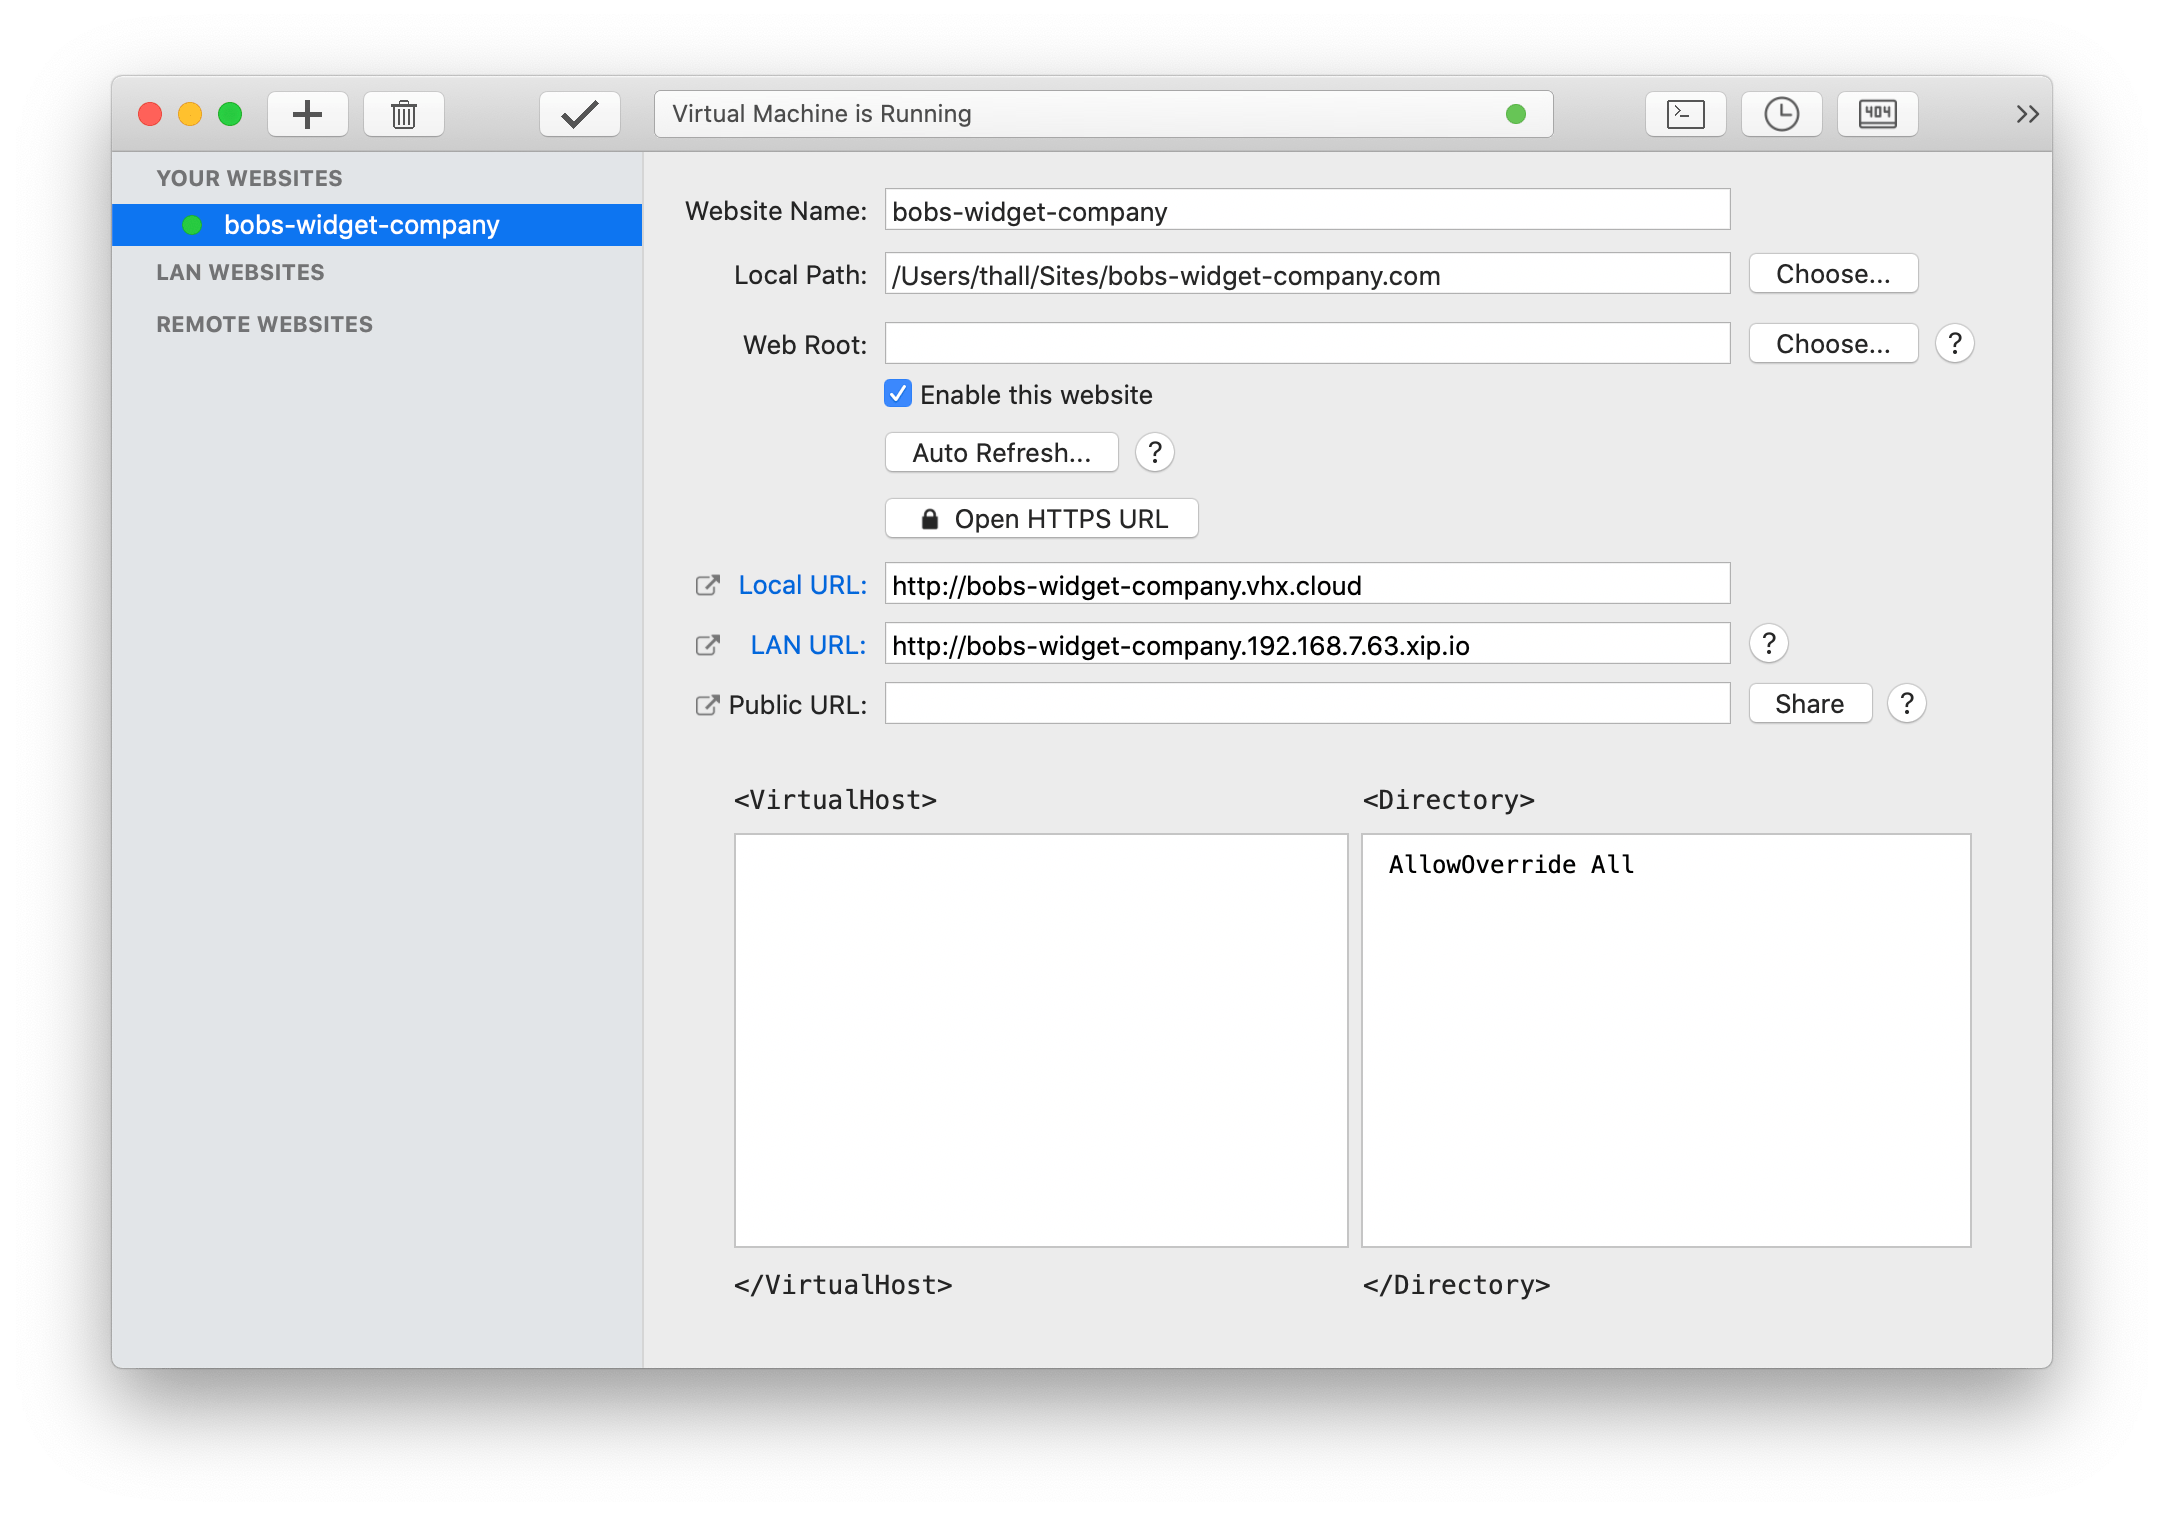
In that screenshot, you can see that we have created a new website called "bobs-widget-company". Once the app has finished saving your changes (the status bar at the top of the window will tell you), you can click the "Local URL" link to open your website.
That's it. You're done! You've successfully setup and created your first local website with VirtualHostX. You can create as many websites as you like - each one with a different domain name pointing to any folder on your Mac.
If you'd like to see the process from start to finish - including how you can install WordPress automatically - watch this video:
Notes for the Curious
- You rarely, if ever, need to change or modify your website's "Web Root" setting. It should almost always be left blank. More information is available here.
- The "LAN URL" address VirtualHostX provides is a special web address you can use to view your website from another computer or mobile device on the same local network (WiFi) as your Mac. You can also use our free iOS app to easily view your VirtualHostX websites from your mobile device.
- The "Public URL" address connects to a free service called ngrok that lets you share your local website with anyone else in the world. Click the "Connect" button to generate a shareable URL you can give to a friend or coworker to let them view your website. (If you're publicly sharing a WordPress site, please read this.)
- If you want to get rid of the ugly ":8080" that's appended onto your website's URL, you can do so by instructing VirtualHostX to run its web server on port 80. Just choose the "Bind to Ports 80 and 443" item under the "Web Server" menu to make the change.
More Resources
- How to connect to your MySQL database with a free app like Sequel Pro.
- How to SSH into the virtual machine.
- How to edit files inside the virtual machine.
- How to use a custom domain name with VirtualHostX
For More Help
We take great pride in our customer service. We're always happy to hear from you and help in any way we can. You can contact us via email at help@clickontyler.com or by phone/SMS at +1 615-200-8705. You can also submit questions, feature requests, and bug reports directly to us from within VirtualHostX using the "Help" menu.